
- December 26, 2016
- Posted by: Surender Kumar
- Category: PowerShell
Enable RDP remotely with PowerShell
Table of Contents
The new Windows Server products come with Windows Remote Management (WinRM) enabled by default, but the traditional Remote Desktop (RDP) feature is disabled. If you ever need to enable the remote desktop feature on your newly deployed Windows system but don’t have console access, you can do so with PowerShell. This can be particularly helpful in situations where you need to access the server from a different location or troubleshoot issues without having to be on-site. Additionally, using PowerShell for this task allows for quick and efficient configuration changes without the need for manual intervention.
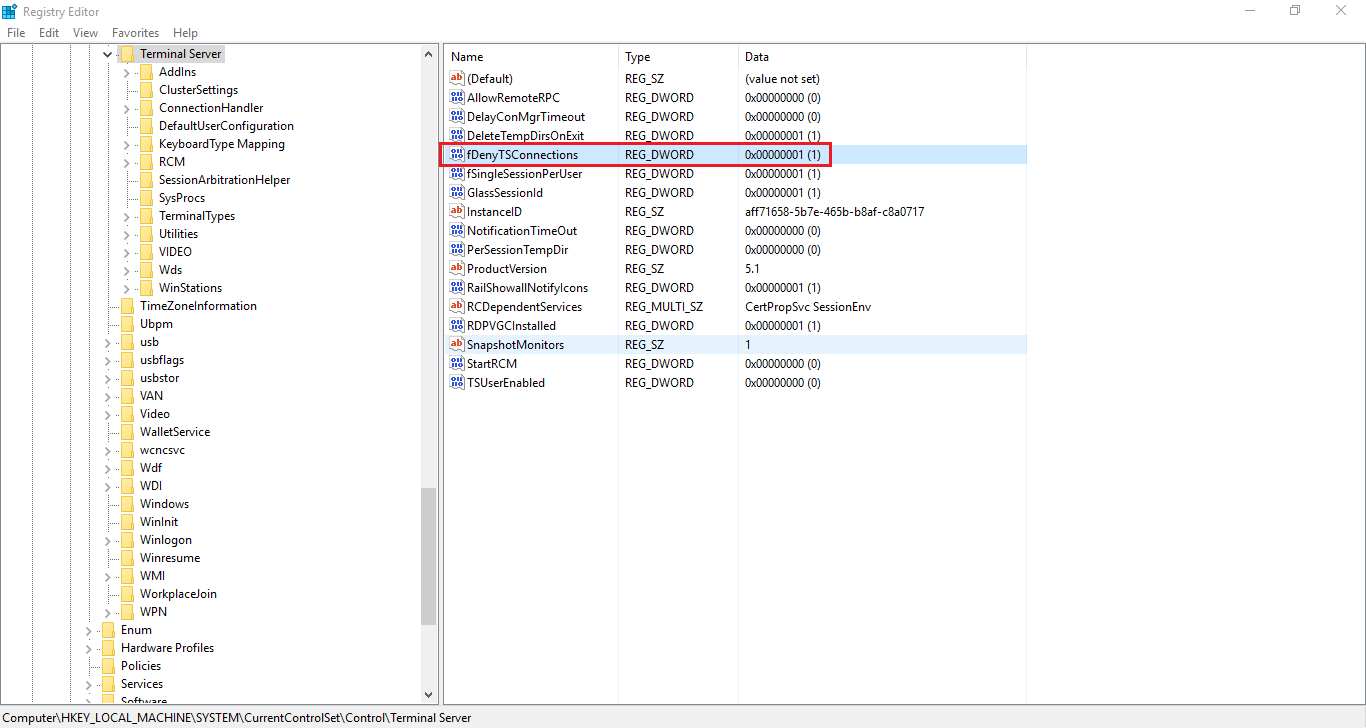
Before starting, you should know the Registry value which controls the Remote Desktop a.k.a. Terminal Services connections in Microsoft Windows (Server and Client OSes). There is a DWORD value named “fDenyTSConnections” under ‘HKEY_LOCAL_MACHINE\System\CurrentControlSet\Control\Terminal Server‘ subkey. It accepts a boolean value (either 0 or 1) and it is 1 by default, which means Remote Desktop connections are disabled. We will run a PowerShell command on remote computer to set this value to 0 to essentially enable RDP. We will also enable a Windows Firewall rule to accept RDP connections.
Enable remote desktop remotely using PowerShell
To enable remote desktop on remote computer, launch a PowerShell console or Windows Terminal and run the following command:
Invoke-Command -ComputerName MyDC1 -ScriptBlock {Set-ItemProperty -Path 'HKLM:\System\CurrentControlSet\Control\Terminal Server' -Name "fDenyTSConnections" -Value 0 -Verbose}

Replace MyDC1 with your remote computer name. If your currently logged on user does not have enough privilege to modify Windows registry on remote computer, you can use the -Credential parameter to supply alternate user credentials.
Enable Firewall rule remotely using PowerShell
To enable the firewall rule remotely, run the following command in PowerShell:
Invoke-Command -ComputerName MyDC1 -ScriptBlock {Enable-NetFirewallRule -DisplayGroup "Remote Desktop" -Verbose}
That’s all. Now your remote Windows system will be accepting remote desktop connections. I have created a PowerShell module for this task. If you want to set it in your computer and run it like a traditional PowerShell cmdlet, continue reading the remaining steps.
Create a PowerShell Module
Open Windows PowerShell ISE, VS Code or any other text editor of your choice and copy the following code:
<#
  .Synopsis
  Enables the remote desktop feature

.Description
  The Enable-RemoteDesktop Cmdlet enables the remote desktop feature on remote computer(s) using the credentials of logged-on user or alternate user account specified in -Credential parameter

.Parameter
  This is a required parameter where you need to specify a computer name which can be localhost or a remote computer

.Parameter
  This is an optional parameter where you can specify alternate credentials to connect to remote computer if your current user account does not have enough privilege to make changes to Windows registry of remote computer

.Example
  Enable-RemoteDesktop -ComputerName DC1
  This command will enable the remote desktop feature on DC1

.Example
  Enable-RemoteDesktop -ComputerName DC1 -Credential mydomain\admin
  This command will enable the remote desktop feature on DC1 using domain admin credentials
  #>
  Function Enable-RemoteDesktop {

[CmdletBinding()]
  param(
  [Parameter(Mandatory=$true)]
  [String[]]$ComputerName='localhost',
  [System.Management.Automation.CredentialAttribute()]
  $Credential
  )
  Invoke-Command  -ComputerName $ComputerName -ScriptBlock {Set-ItemProperty -Path 'HKLM:\System\CurrentControlSet\Control\Terminal Server' -Name "fDenyTSConnections" -Value 0 -Verbose}
  Invoke-Command  -ComputerName $ComputerName -ScriptBlock {Enable-NetFirewallRule -DisplayGroup "Remote Desktop" -Verbose}
  }
Create a folder named “Windows PowerShell” in your [My] Documents folder.
Create another folder named “Modules” inside Windows PowerShell folder.
Create another folder named “Enable-RemoteDesktop” inside Modules folder.
Save the code copied to notepad into Enable-RemoteDesktop folder with the name “Enable-RemoteDesktop.psm1” filename. Note the file extension should be .psm1 which will make it a PowerShell module.
Now open Windows PowerShell console on your PC and type the following command:
Get-Help Enable-RemoteDesktop -Full
You will notice that you have just created a Windows PowerShell cmdlet that will feel and behave like other cmdlets. You can use parameters like -ComputerName, -Credential, -Verbose, -ErrorAction etc. which is awesome. Now whenever you want you can enable remote desktop on any remote computer by using following command:
Enable-RemoteDesktop -ComputerName MyDC2
If your currently logged on user does not have enough privilege for remote computer, you can add -Credential parameter and supply your domain admin credentials as shown below:
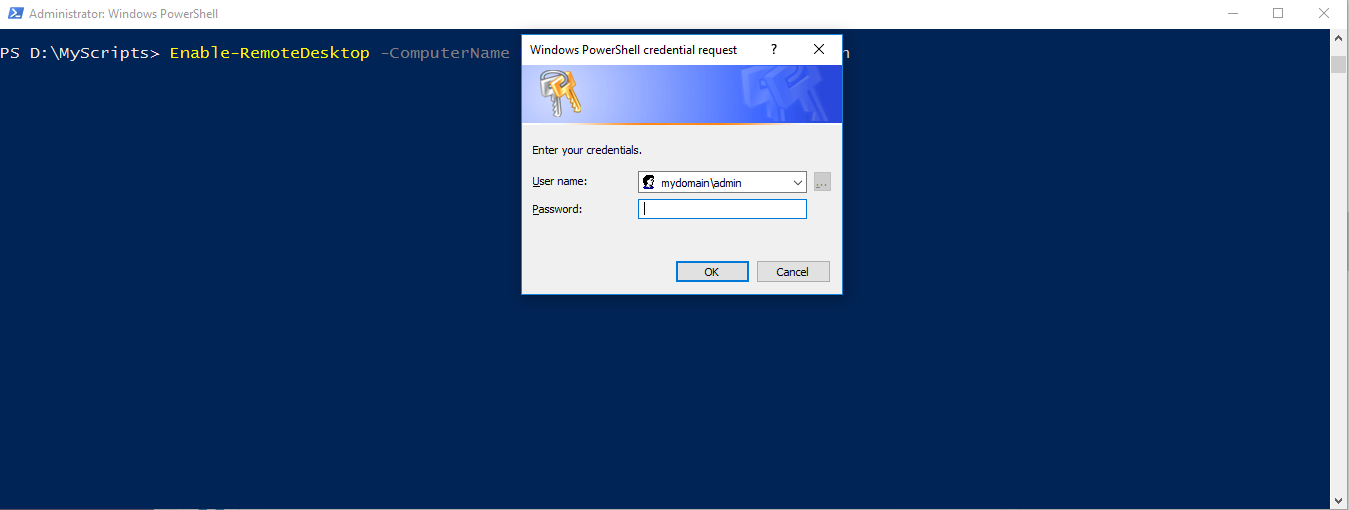
Enable-RemoteDesktop -ComputerName MyDC2 -Credential domain\admin
You will be prompted to enter the credentials on the fly as shown in following image:
This is how you can enable remote desktop feature without having console access to remote server. Windows Server 2012 and later version of Windows Server family comes with Windows Remote Management enabled by default. In earlier versions, you have to enable Remote Management before you can use these PowerShell commands. For more information on how to enable PowerShell Remoting, see this article. Furthermore, you can use this guide to enable remote desktop option in any version of windows including latest Windows 10, Windows 11, Server 2019, and Server 2022 etc.
1 Comment
Comments are closed.
Hurrah! At last I got a website from where I be capable of really obtain valuable
information concerning my study.